Congratulations on Your Special Day - How to Create Subtle Backgrounds
Lately, I've been finding that when I'm stamping large focal points, the rest of my card can quickly start to suffer from a lack of attention. Any of you been there too?
What I mean by this, is that I'm so intently focused on coloring the pretty flowers, picking just the right sentiment, or thinking about topper details, that when I look around the card, the rest of it just seems so empty and neglected.
Now I will be the first to admit that I looove white space. It really allows beautiful focal points to shine. But sometimes all that white can be overwhelming and I can find myself at a loss of how to make the white space appear just a tad less white.
Come in subtle backgrounds :)
I've been playing with adding in a soft detail (or two) to bring my cards to life, without losing that white space feeling. And I thought it would be fun to share here with you my go-to way of doing this.
Come in subtle backgrounds :)
I've been playing with adding in a soft detail (or two) to bring my cards to life, without losing that white space feeling. And I thought it would be fun to share here with you my go-to way of doing this.
I started this card by cutting out a scalloped card base with these beautiful Lawn Fawn Scalloped Rectangle Stackable dies (which just so happen to be on sale right now!).
I then used a masking technique, stamping and heat embossing some beautiful blooms and leaves, from PTI's Peonies on Parade stamp set.
I used Distress Ink to color the blooms and leaves, in colors of Candied Apple, Picked Raspberry, Fossilized Amber, Cracked Pistachio, and Shabby Shutters.
I then used a masking technique, stamping and heat embossing some beautiful blooms and leaves, from PTI's Peonies on Parade stamp set.
I used Distress Ink to color the blooms and leaves, in colors of Candied Apple, Picked Raspberry, Fossilized Amber, Cracked Pistachio, and Shabby Shutters.
This is where I realized that the rest of the card seemed rather empty, and decided to pull out some stencils and my ink blending tool, to see if I could add some interest to the background, without losing all the beautiful white space.
I stumbled upon my dotted Tim Holtz Polka Dot stencil and decided that it would do the trick!
I used Sweet Blush ink for the dots because it's such a soft, sweet color, and not too overpowering.
After finishing up with the stencil, I still felt that the background could use a touch of detail. So I pulled out the Thanks stamp set by Precious Remembrance, and stamped a fine stitched border around the scalloped card with Lovely Lady ink. I really, really adore this stamp set and after all these years, it's still one of my favorite go-to's.
At the top, I added some hearts with the Confetti Garlands die, some inked and some plain white.
I added a few more stamped and colored leaves, along with a stitched button.
For the sentiment, I used Candied Apple and Shabby Shutters Distress ink.
I am such a fan of how this turned out! I really do need to rely on my stencils a bit more - I've included some of my current favorites at the bottom. They are so versatile and I love that color can be applied softly to give backgrounds just that little something-something. And I really should invest more into edging stamps, because, they too, are just perfect for this technique!
If any of you have recommendations on edge stamps you can't live without - let me know in the comments below! :)
As always, thanks for joining me today, Friends. Wishing you all a wonderful weekend.
Ivana
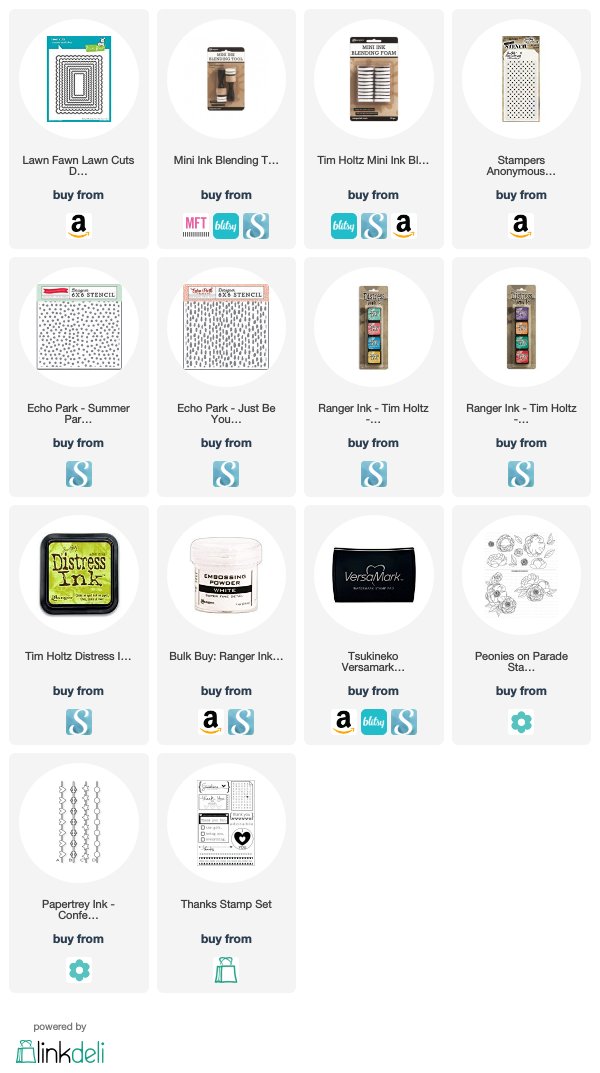
p.s. Friends - I'm trying out a NEW supplies list that will be featured at the end of each post. I hope it will make shopping a little easier and allow you to quickly see products I've used on each project. Using this feature will not add any additional costs to your purchase, but it will go a long way in helping me maintain this little blog of mine. Your purchases through any of the AMAZON, BLITSY or SCRAPBOOK.COM links below will help me convert a small portion of your sales towards running this little blog and creating new, exciting content on an on-going basis. So if you like what you see here and you enjoy visiting my creative space, please consider using these links when you shop.
Also please note, although I do make a small commission on the sale of some products I feature, all products used on this blog and opinions shared are my own and are not influenced in any way.
I simply love to share the goodies that make crafting fun for me, in hopes that they'll do the same for you! :)
I want to extend a HUGE thank you to anyone who has already used these links! Your support means the world to me and I cannot express my gratitude enough. Thank you!


Post a Comment